List and Download Data
In this guide, we'll demonstrate the steps you can take to quickly list the set of source files Kernel Planckster has registered for your user, whether you uploaded them yourself, or they were gathered by some other means (e.g. a scraper).
This process should require no code at all, relying entirely on the Swagger interface we've set up for you. So if you aren't already familiar with using Swagger, we recommend you take a moment to read through the guide we've prepared for you.
Steps to list files
In the previous guide, you were shown how to upload a file and register it with Kernel Planckster. If you followed those steps, these steps should show a list containing that file, confirming that it was successfully uploaded.
1. Navigate to the Swagger interface
You should now see the page with FastAPI in the corner, and a list of all the available endpoints.
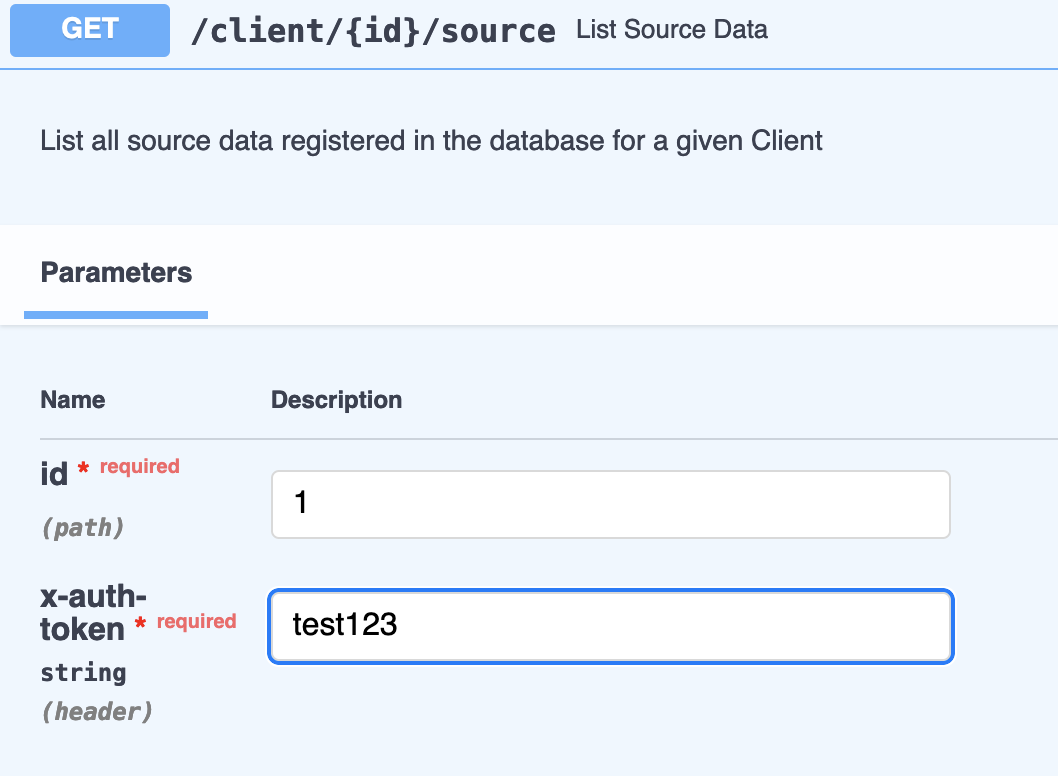
2. Use the GET /client/{id}/source endpoint to list files for your user
Click the Try it out button, and fill out the following fields (also shown in the screen shot below):
- id: Your ID is
1! - x-auth-token: For testing purposes, use
test123.

Click the Execute button, and you should see a response with "status": true. If you're just starting out, and you uploaded a single file in the last guide, the response you receive might be similar to this:
{
  "status": true,
  "code": 200,
  "errorCode": null,
  "errorMessage": null,
  "errorName": null,
  "errorType": null,
  "source_data_list": [
    {
      "created_at": "2024-09-27T16:33:56.230367",
      "updated_at": "2024-09-27T16:33:56.230373",
      "deleted": false,
      "deleted_at": null,
      "id": 1,
      "name": "my_file.json",
      "relative_path": "up/to/you/must/be/valid/file.txt",
      "type": "txt",
      "protocol": "s3",
      "status": "available"
    }
  ]
}
You can see that Kernel Planckster has registered the file previously uploaded in the source_data_list. That means your upload was successful!
Steps to download a file
1. Navigate to the Swagger interface
You should now see the page with FastAPI in the corner, and a list of all the available endpoints.
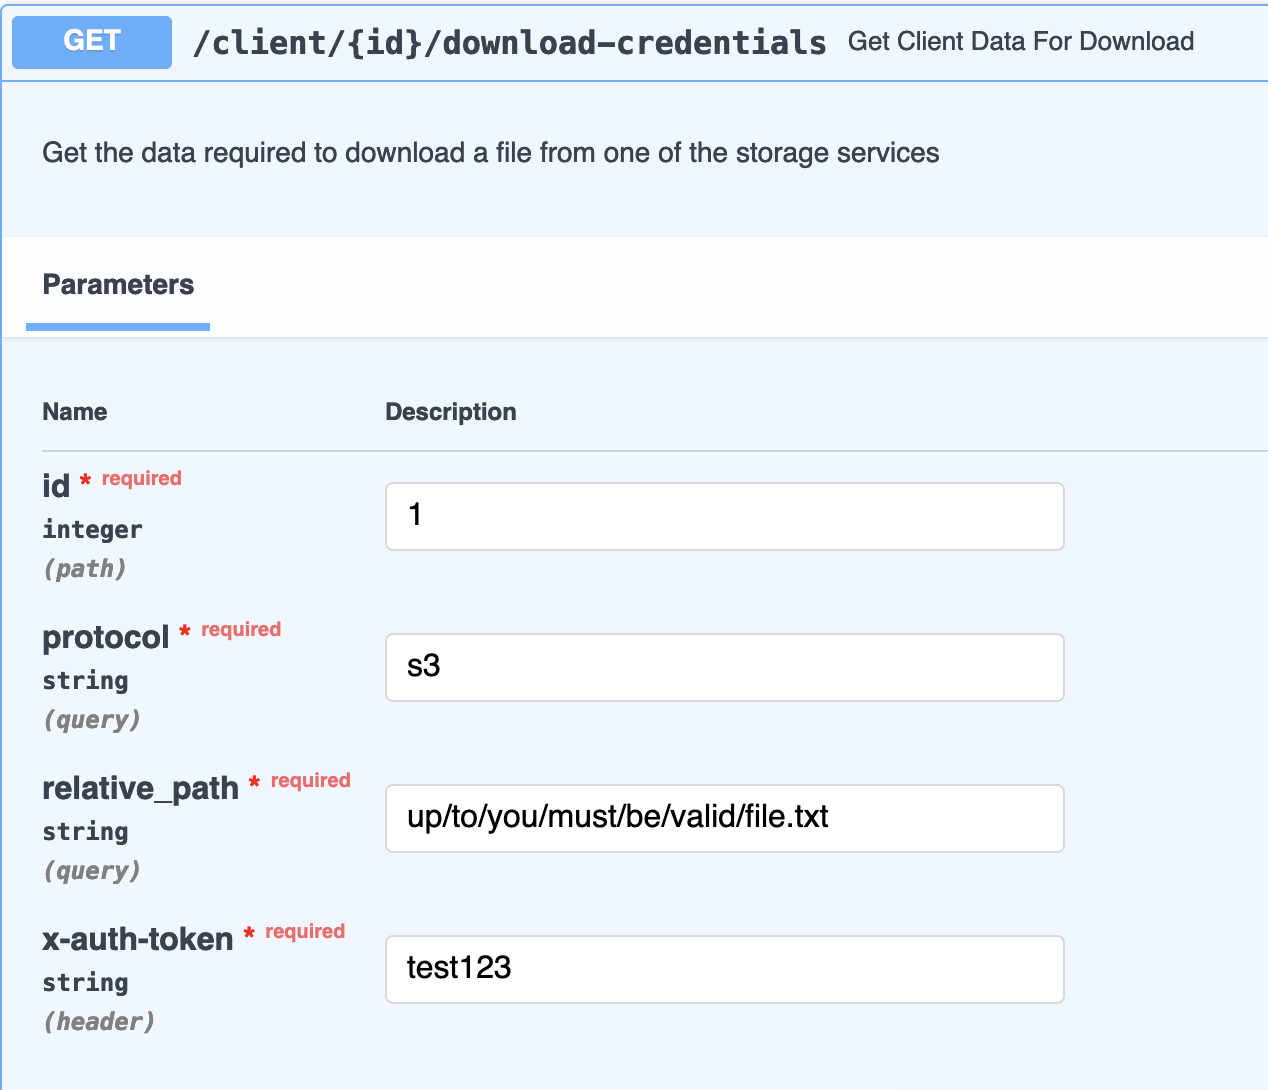
2. Use the GET /client/{id}/download-credentials endpoint to get a URL for downloading your file
For security reasons, files must be downloaded from a secure URL. To generate the signed URL for this file download, click the Try it out button and fill out the following fields (also shown in the screen shot below):
- id: Your ID is
1! - protocol: For the time being, this is always going to be
s3. - relative_path: This must be the same
relative_pathused when uploading the file. This is the parameter that will tell Kernel Planckster which file you want to download. - x-auth-token: For testing purposes, use
test123.

Click the Execute button, and you should see a response with "status": true similar to this:
{
  "status": true,
  "code": 200,
  "errorCode": null,
  "errorMessage": null,
  "errorName": null,
  "errorType": null,
  "signed_url": "http://localhost:9001/sda/up/to/you/must/be/valid/file.txt?X-Amz-Algorithm=AWS4-HMAC-SHA256&X-Amz-Credential=minio%2F20240927%2Fus-east-1%2Fs3%2Faws4_request&X-Amz-Date=20240927T163545Z&X-Amz-Expires=3600&X-Amz-SignedHeaders=host&X-Amz-Signature=e0f38b5ea883e08e4c2e56b038dc6bc1c72aeaf2fd5b0a790249662eb6f1eccb"
}
Go ahead and copy the URL next to "signed_url" (without the quotes)! This is the URL from which you'll download your file.
3. Navigate to the signed_url in a browser
All you have to do in this step is paste the signed_url in a browser window, and wait for the file to be downloaded!
In this example, our URL for the browser would be http://localhost:9001/sda/up/to/you/must/be/valid/file.txt?X-Amz-Algorithm=AWS4-HMAC-SHA256&X-Amz-Credential=minio%2F20240927%2Fus-east-1%2Fs3%2Faws4_request&X-Amz-Date=20240927T163545Z&X-Amz-Expires=3600&X-Amz-SignedHeaders=host&X-Amz-Signature=e0f38b5ea883e08e4c2e56b038dc6bc1c72aeaf2fd5b0a790249662eb6f1eccb
Notice that it has the same file name and extension as what you assigned to it in the relative_path.